|
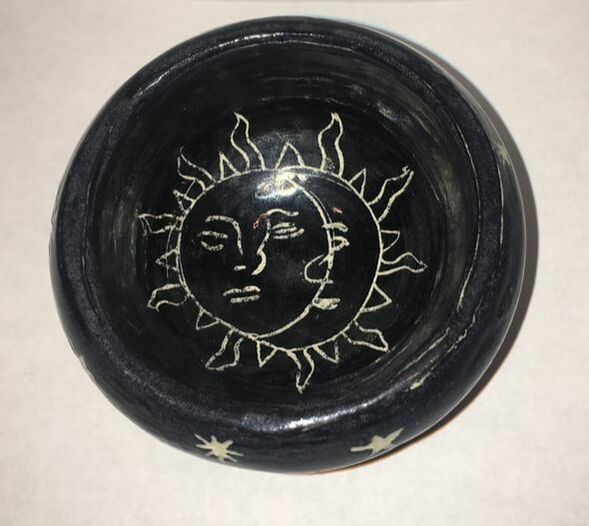
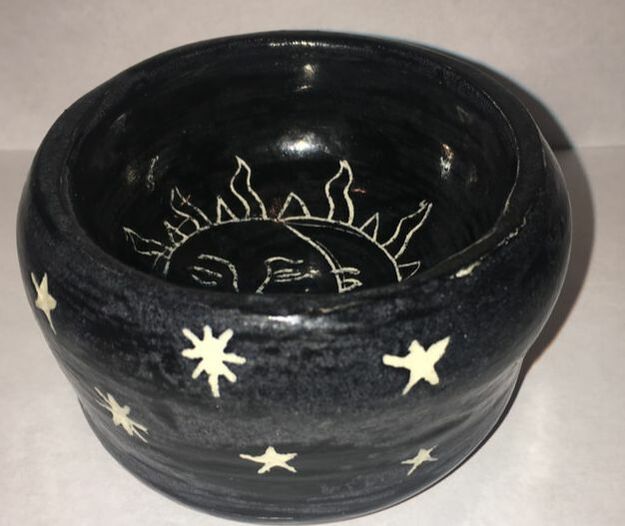
Required Questions: 1) I have used many different tools throughout this semester including the wooden rib tool, the ribbon tool, the needle tool, the wire clay cutter and many more. These tools helped me work along because they made it a lot easier to work with clay and other mediums. I used wooden rib tool a lot because it made it a lot easier to smooth the outside of my clay pieces so there were no bumps or bubbles. I also used the clay wire cutter a lot because I could get the exact amount of clay I wanted very easily and efficiently. The function and purpose of the ribbon tool is to help cut off the excess clay you don't need. The function of the needle tool is to make precise incisions and you can also make small holes with it. 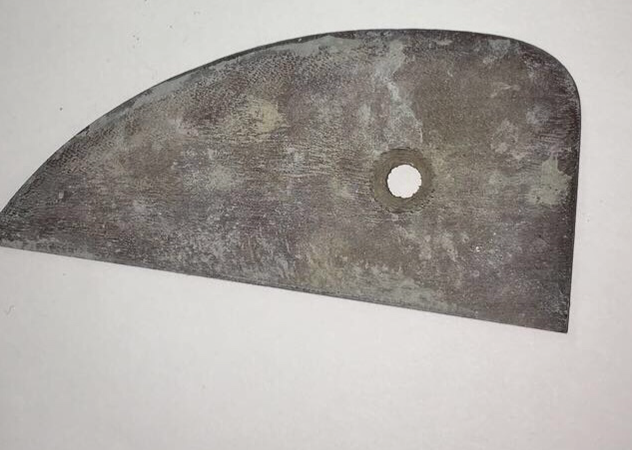 2) My knowledge on tools has changed a lot since the beginning of this semester. In the beginning of the semester I only knew what a sponge and paintbrush was but now I know a lot of other tools and what they do. I think learning about all of these tools has helped my artwork to because now I can use the wooden rib tool instead of my hands to smooth out my piece. I also think that learning all of these tools has helped me become more interested in sculpture because it makes it easier for me to accomplish my ideas. For example when I was making my mug it was a lot easier to create since I could use the needle tool to score and slip and i could use the wooden rib to help smooth the outside. 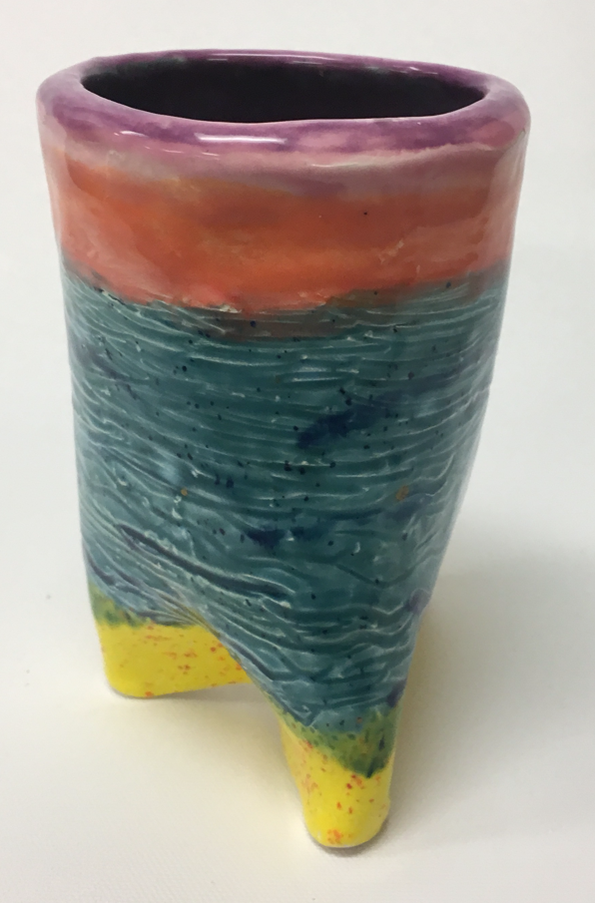 Pick Three Questions: 1) My favorite material I used this year was paper mache. I liked using paper mache because it stuck to my materials very well and didn't come off. I also liked using paper mache because it was kind of messy so it was fun but not too messy so it didn't go everywhere. I also liked using paper mache because you could put it on any material. I really enjoyed working with paper mache because the possibilities were limitless.  2) The thing I found most difficult about this class were coming up with ideas for my pieces. To resolve this in the future I could look up more ideas online and ask Mrs. Sudkamp or the people at my table for ideas. I also found it difficult to work on multiple pieces at the same time. To resolve this in the future I could plan out what project I am working on each day and what I am doing for that project. 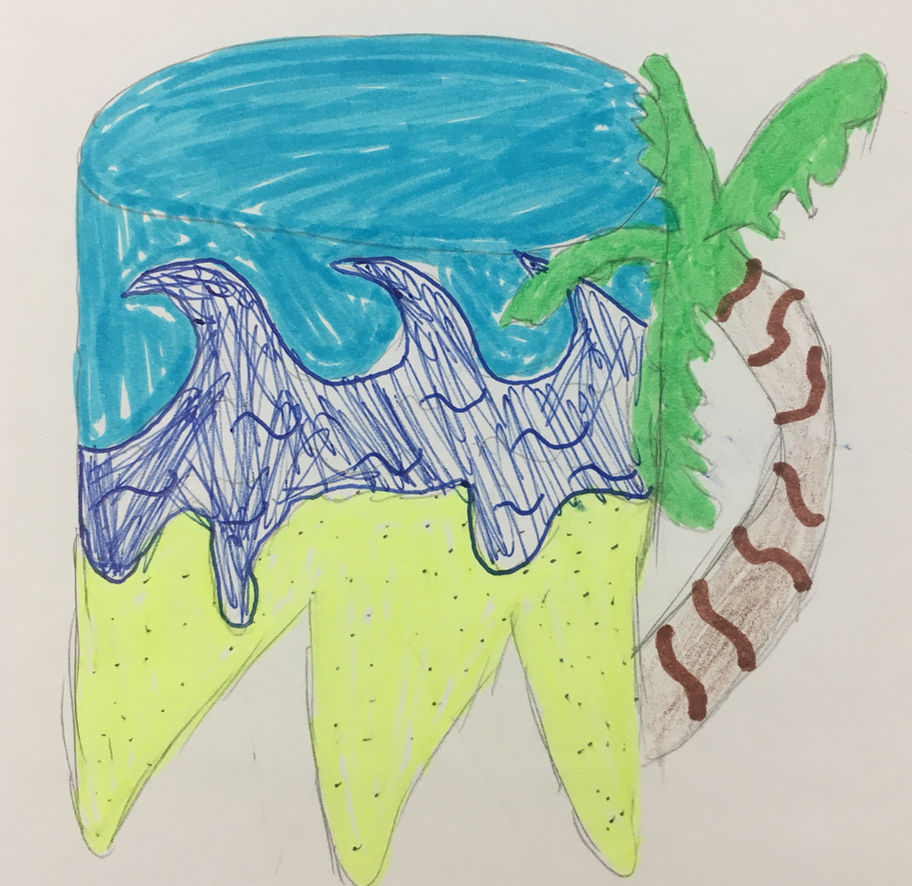 3) My most successful piece was my sgraffito piece. I think this piece was my most successful because it turned out exactly the way I wanted it to and the design looked the same way I imagined it in my head. I also really like how simple and clean it is and how the stars are different. To create this design I put black glaze on it then carved away the pieces I wanted to stay white and then fired it and put a few coats of clear glaze on it. While this is my most successful piece there was one issue that I did not plan on happening; the clear glaze was kind of splotchy, but it works with the piece because it looks more like the sky. 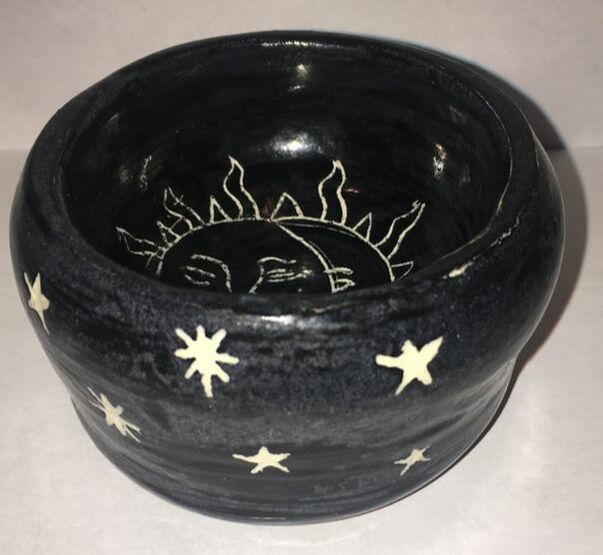
0 Comments
1) I came up with this idea but looking up multiple pictures on the internet, I chose this design because I wanted it to be an earring holder so I wanted it to match my room. 2) First I made my piece on the wheel then I painted it with black under glaze and scrapped away what I wanted to be white and then I fired it and then I put a few coats of clear glaze and then fired it again.  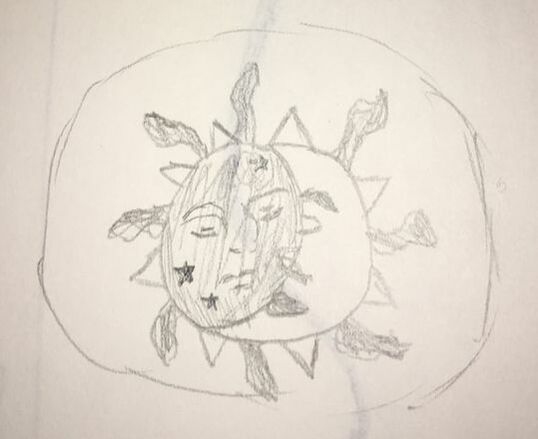 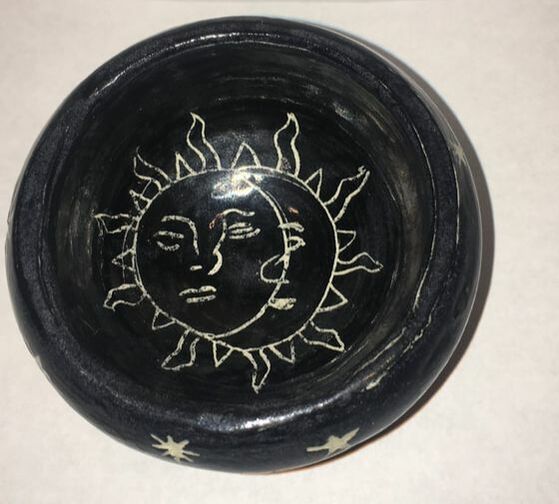 1) First I had to mix water and flour until it was a pancake mix consistency and then I had to rip paper and coat it in the mixture and then put it on my piece. 2) My piece was successful because you can tell what it is right away and it looks very cartoon like which is what I wanted. 3) One of the major difficulties I faced was the legs because it was hard to make them all about the same length and make it so my pig could actually stand on them. 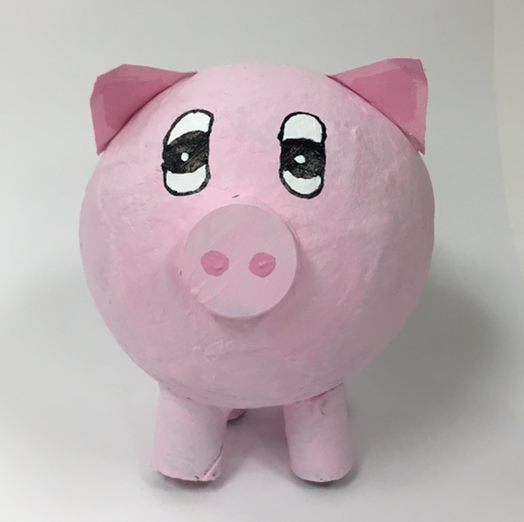 1) I helped with the paper mache on the wings and I painted the butterfly. Tyler, Virginia and Kennedy were in my group and Tyler and Virginia worked on one butterfly while Kennedy and I did the other. Kennedy paper mached the body and helped me paint and added the antennas. 2) First you mix together flour and water until it is a pancake batter like consistency, then you dip pieces of paper in it and wipe off the excess and then put it on the desired piece. 3) It was very difficult to attach the body to the wings, we were successful in making the correct color and making the wings symmetrical. 4) Installation art is art that the viewer can interact with. 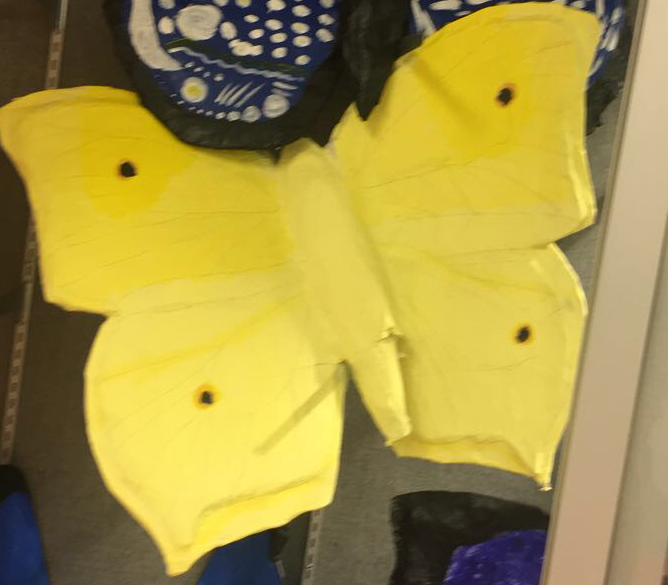 1) First I made my piece then I carved out the design then painted it with black glaze and fired it in the kiln, then I painted a few coats of clear glaze on it. 2) I thought the sgraffito process was really interesting and unlike anything I have done before. 3) My piece was successful because you could tell what it is and it turned out exactly how I in visioned it. If I were to do it again I would try to make the circle more circular because it was kind of lopsided.
 1) First you have to make a cone shape clay and the center it on the wheel and then use your hands to make the shape you want. 2) I found it was very difficult to center my piece and to make sure I didn't make it spin too fast or too slow 3) I found that I was successful with adding the right amount of water to my clay so that it wasn't too wet or too dry.  1) I designed my piece the way it is because I found an image similar to it on the internet and I thought the pattern looked really cool so I wanted to do something to the same effect. I didn't really have a subject I just wanted to make something that matched my room. 2) The most difficult part about my piece was breaking the glass and clay mugs because the pieces wouldn't break the way I wanted them to. 3) I found that using the pizza pan as the circular shape was very successful and if I were to make this piece again I would probably use objects that are all the same height because it was kind of difficult to grout the pieces since some were slightly higher and some were slightly lower. 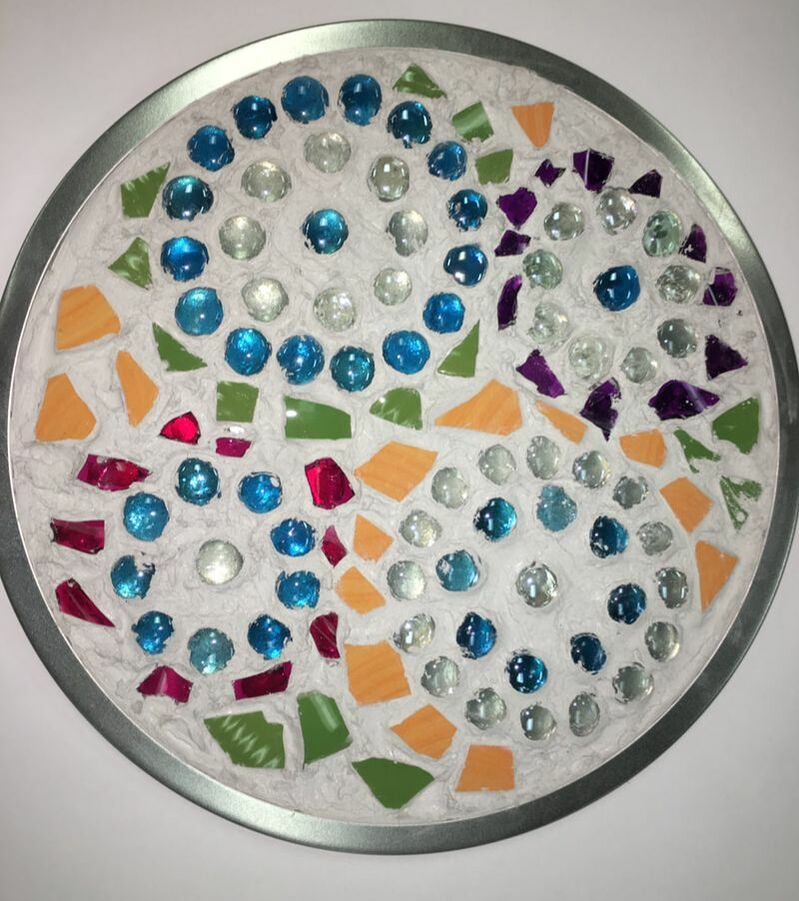 1) First i rolled out slab and then i made a cylinder shape and then I cut out a bottom to put on the mug and added texture and then painted it with glaze. 2)I did not add a handle because I wanted my piece to be used for holding makeup brushes 3) I found the colors to be successful because they really popped. I found making it perfectly straight and finding the right color for the sand to be difficult. If i made this piece again i would use a different color for the sand and I would add a handle 4) A flat piece of rolled out clay 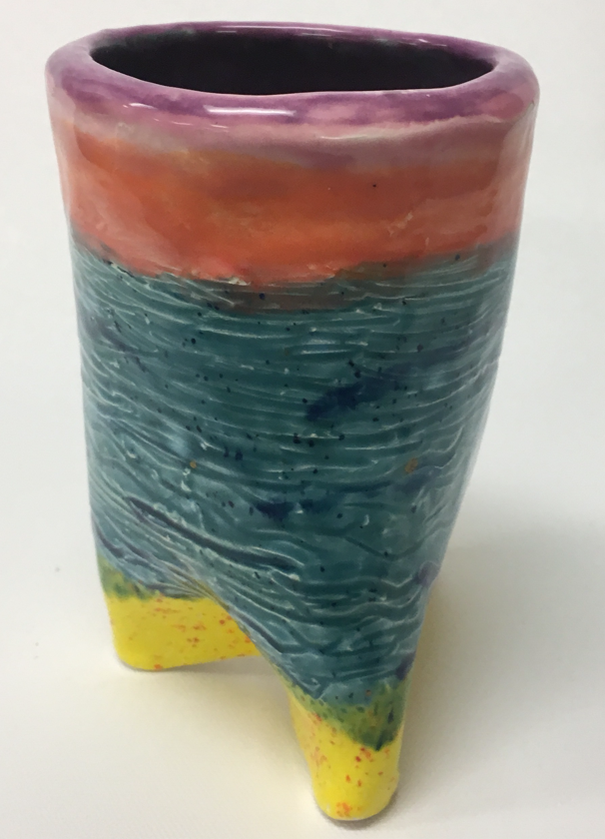 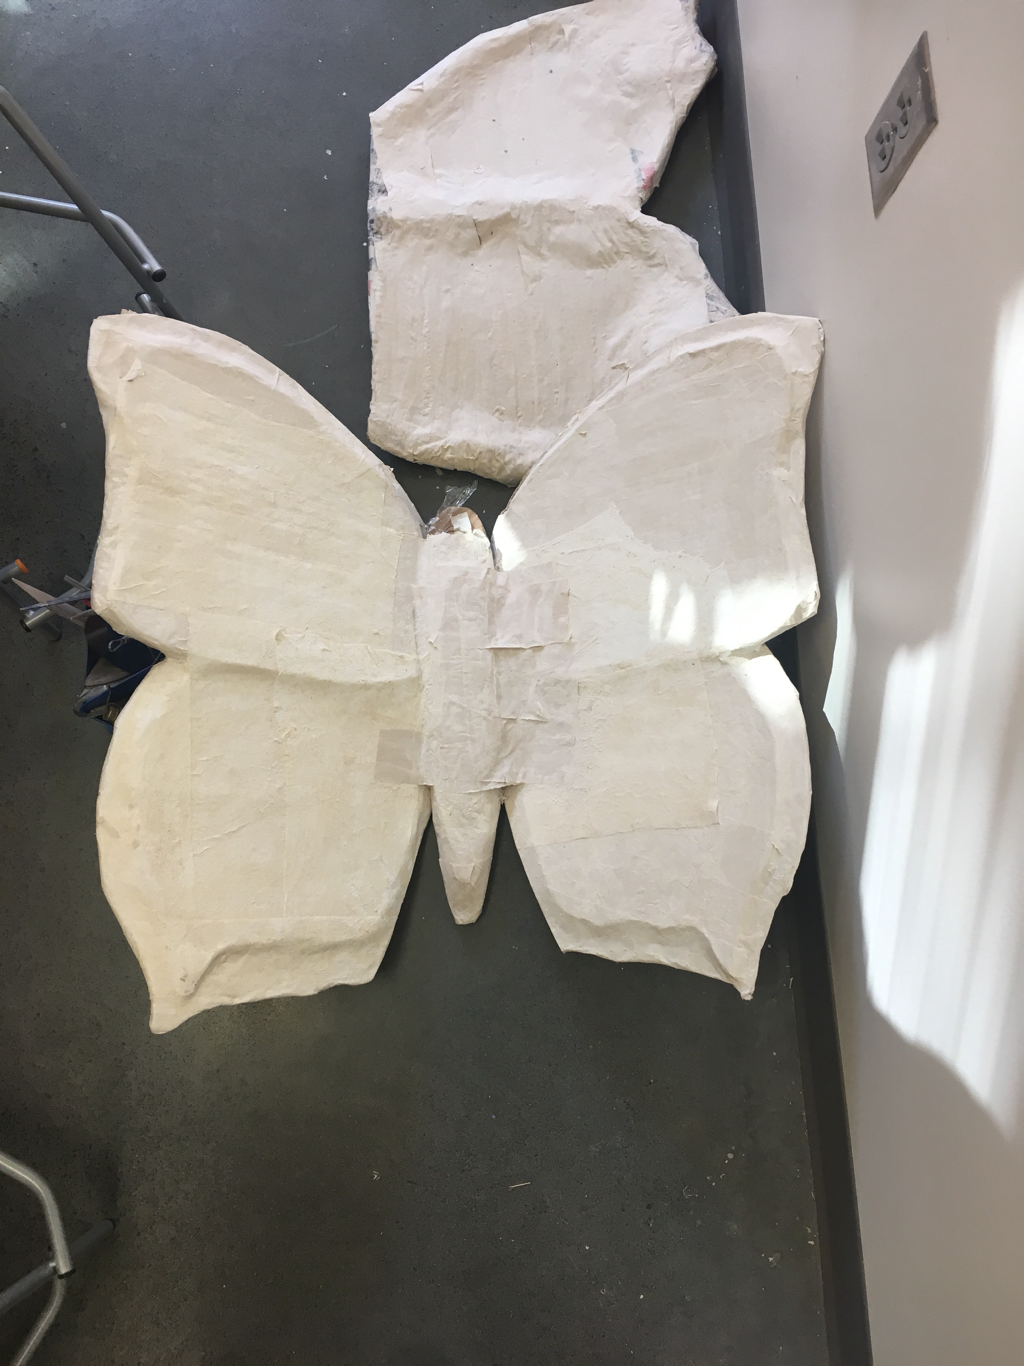 1)I did the paper mache on the wings. Kennedy was in my group and she helped with the wings and did the body and attached everything together.
2)First we cut out the shape and then we did 2 layers of paper mache in paper and then one of paper towels and then we attached the wings to the body and did another layer of paper towel paper mache. 3)Our biggest difficulty was attaching the wings to the body and our successes have been paper mache and cutting out the shapes and adding 3-D features to it. 1) I used the slab rolling technique to make my piece. First I rolled out the clay then cut a piece of the clay the height I wanted and as long as it could go and then I put it around the cylinder and then added a bottom to my piece. 2) The difficulties I have come across are making the piece into a perfect circle. The successes I have come across are smoothing it out easily and making the bottom fit perfectly. 3) From here I am just going to burn my piece and I do not expect to make any changes to my piece because it is perfect for using as a candle holder.  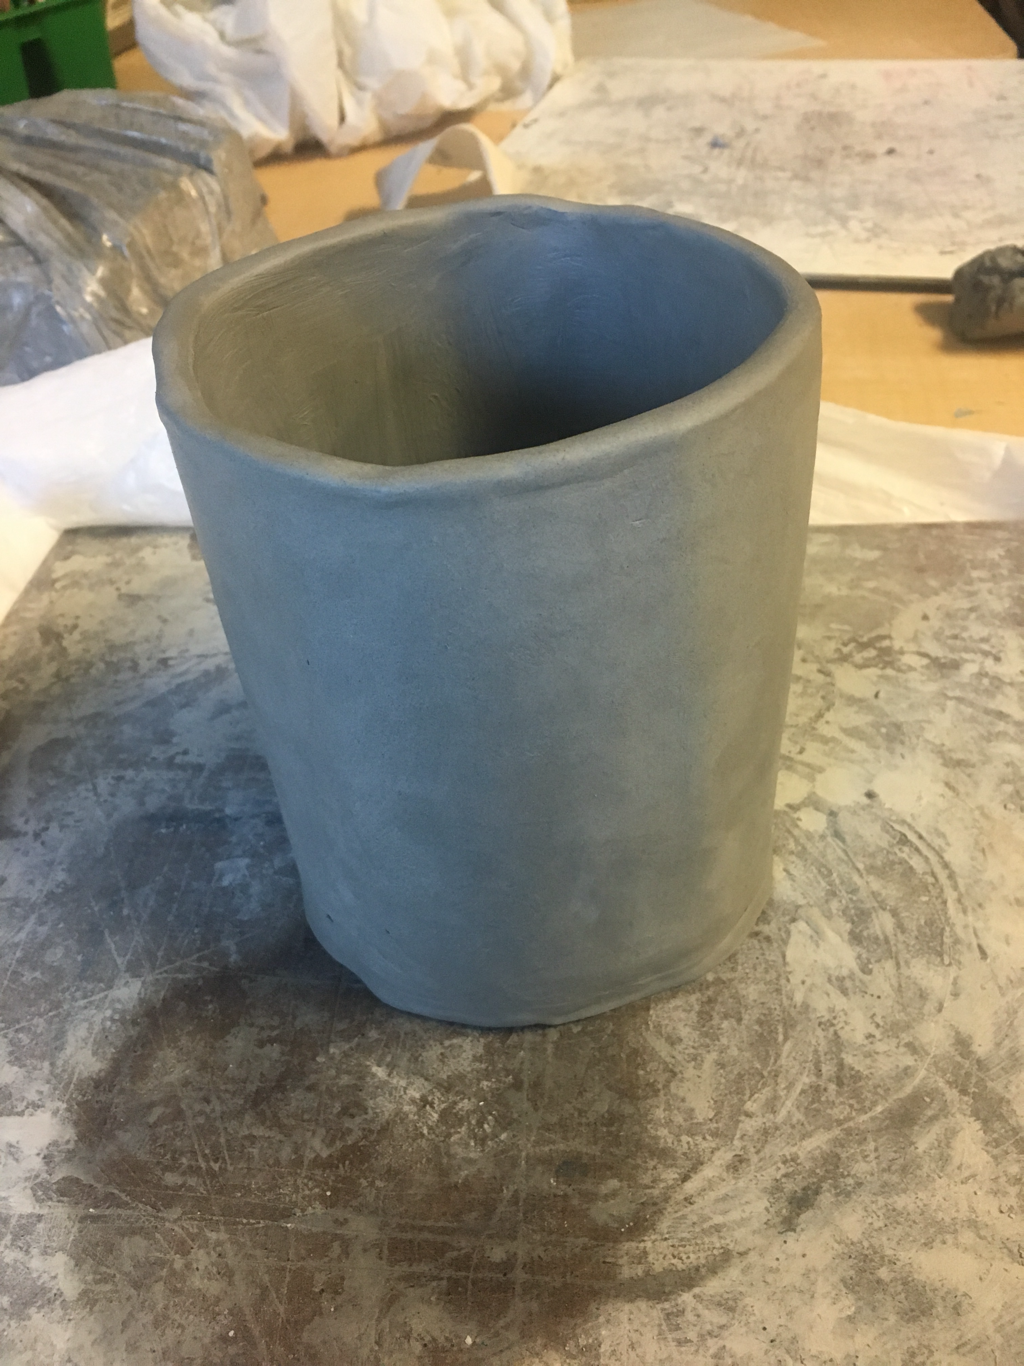 |